Meetings Member Guide
This document gives guidance on the meeting work flow for members.
Meeting Invitation and Status Report Request
When you are invited to a meeting, you will receive an email with the invitation, worded something like this.
You have been invited to the <meeting> on <date and time>.
Location / URL
<location>
Please RSVP and update your status report by clicking here.
Your outstanding action items are listed below. You can update the action item status by clicking here.
Action Item
Status
action 1
open
new action item
open
test action item
inprogress
You can see that there are two links in the email, each under the word “here” in different paragraphs.
The first link brings you to the My Status Report view for this meeting. The My Status Report view allows you to rsvp to the meeting, and to enter your status report(s).
The second link brings you to your My Action Items view. The My Action Items view allows you to update status and provide comments for any action items you’ve been assigned.
Warning
The links in this email are constructed specifically for you, for this meeting. Please do not forward this email to anyone else as it would give them access to your account without needing your password.
My Meetings view
Navigation: Meetings > My Meetings
The My Meetings view can be used to see a summary of meetings you were invited to, or to navigate to the My Status Report view for a particular meeting.
This view shows your RSVP response, whether you attended, and gives links to any reports which have been generated about the meeting.
To navigate to the My Status Report view, where you can RSVP and/or enter your status reports,
on the row with the meeting you want to RSVP and/or enter your status report, click the view button (
 )
)

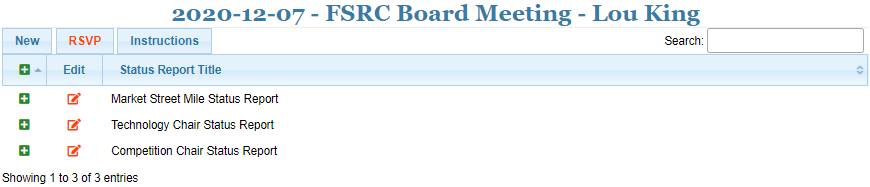
My Status Report view
Navigation: Meetings > My Meetings > [select meeting] > My Status Report (or via the link in the emailed invitation)
You will see a table similar to the following, with a button for your RSVP and a row for each of your position based status reports.
If the RSVP button is orange-red, that means the RSVP hasn’t been indicated.
If the edit icon on a row is orange-red (![]() ), that means the status report hasn’t been entered.
), that means the status report hasn’t been entered.
Important
to view a status report, click on
 to expand,
  to collapse
to edit a status report, click on

if the edit button is displayed as
 this means the status report has been
entered – it can still be edited, though
this means the status report has been
entered – it can still be edited, though
RSVP for the meeting
First you need to record whether you plan to come to the meeting or not
click the RSVP button
This opens a form for your RSVP:
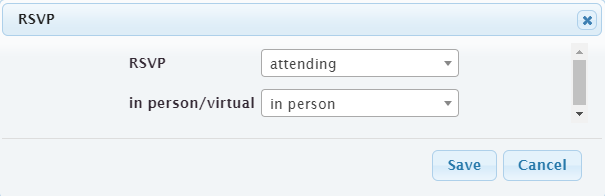
next to RSVP select your response, one of attending, not attending
if you chose attending, you need to pick whether you will be attending in person or virtual
Note
if the meeting only allows in person or only allows virtual, only that option will be shown
click Save
Update your status report(s)
Now you can enter your status report(s).
on the row for the status report you want to enter, click the edit button (
or
)
This opens an Edit form for this status report:
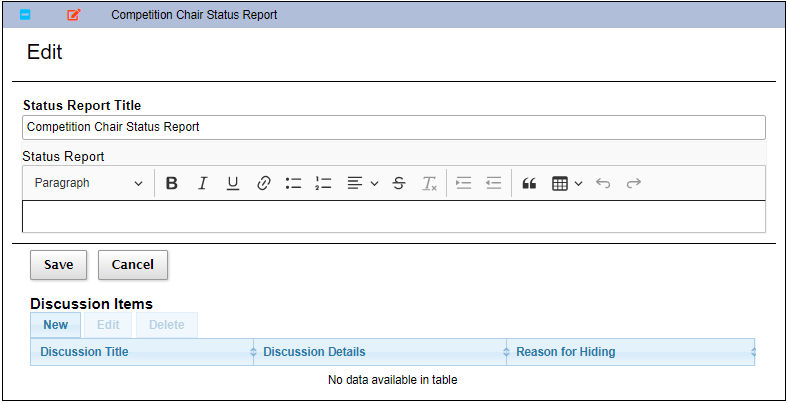
enter your status for this position
click Save
Note
Status reports are by position. So if there are more than one member in the same position, they will see the same status report for that position. If one member edits the report the other member(s) will be able to see those edits when they open the position row.
So if the position is shared, there needs to be coordination for producing the status report.
Optionally add discussion items for the meeting
If a topic needs to be discussed at the meeting, a discussion item must be created. This adds the topic to the meeting agenda.
click
for the status report you want to enter a discussion item about
This opens an Edit form for this status report:

under Discussion Items, click New
This opens a Create form for the discussion item:
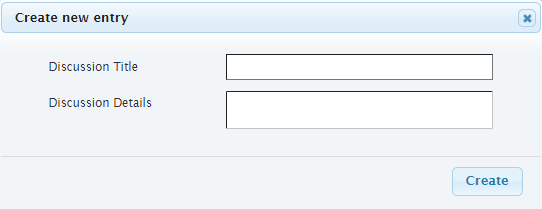
fill in a concise, descriptive title under Discussion Title
use Discussion Details to give more details of what the discussion is about, what decisions might be taken, options, etc.
click Create
You can edit the discussion item up until the meeting.
click
for the status report which holds the discussion itemunder Discussion Items, select the discussion item to be edited
under Discussion Items, click Edit
make the desired edits to Discussion Details
click Save
Note
The meeting agenda item is created when you click Create for the discussion item. While you can edit the Discussion Details up until the start of the meeting, there’s no way for you to update the title used in the meeting for the agenda item. However, your updates to the Discussion Title will be saved in the Status Report document.
Optionally create ad hoc status for areas not covered by one of your positions
Occasionally, there might be a need to create a status report or discussion item which doesn’t neatly fit under one of your assigned positions.
above the Status Report table, click New
If you have one or more empty position status reports, you will be shown the following challenge:
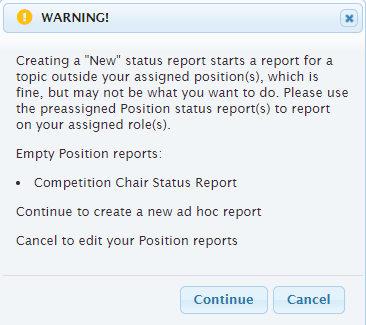
Assuming you really do mean to create an ad hoc report, click Continue. But if you mean to create a report for one of your assigned positions, click Cancel and then follow the directions at Update your status report(s).
If all of your assigned positions reports have been filled in, or if you click Continue at the challenge, you will see a form to add an ad hoc status report:
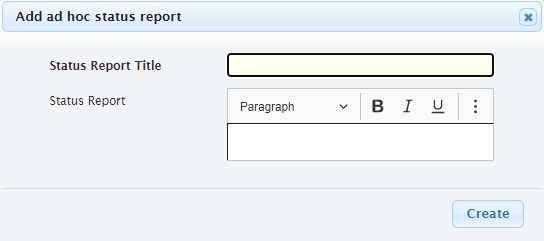
give the report a clear, concise Status Report Title
put details into the Status Report field
click Create
If an item about this report needs to be added to the meeting agenda, create a discussion item.
click
for the new ad hoc status report you just createdadd the discussion item as described in Optionally add discussion items for the meeting
RSVP view
Navigation: Meetings > My Meetings > [select meeting] > My Status Report (or via the link in the emailed invitation)
This view is for meetings which require an rsvp but do not have status reports
next to RSVP select your response, one of attending, not attending
click Submit

My Action Items view
Navigation: Meetings > My Action Items (or via the link in the emailed invitation)
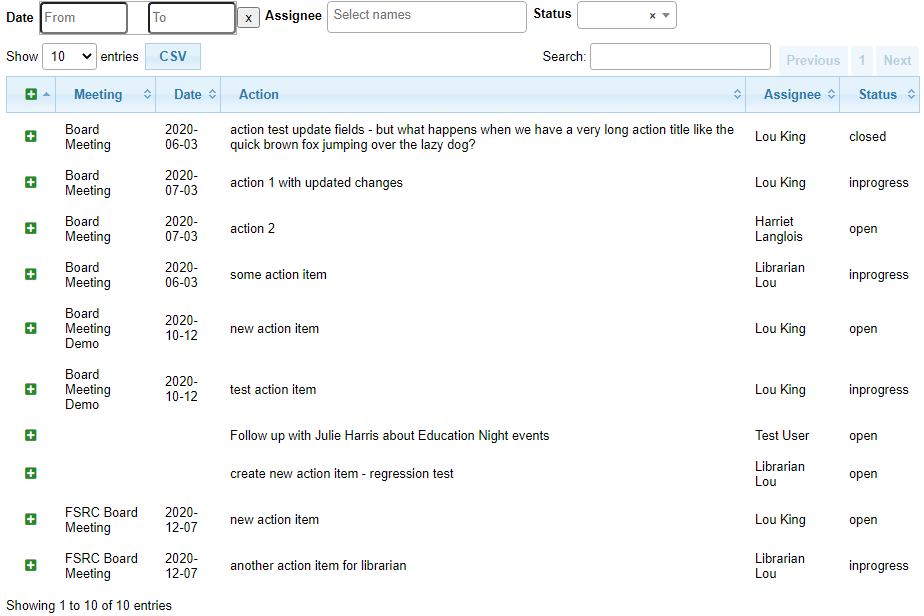
To see what action items you have outstanding, or update the status or progress for any of these, you can use the My Action Items view. (Normally, action items are written more clearly than what you see here, but of course these are what was being used for system testing.)
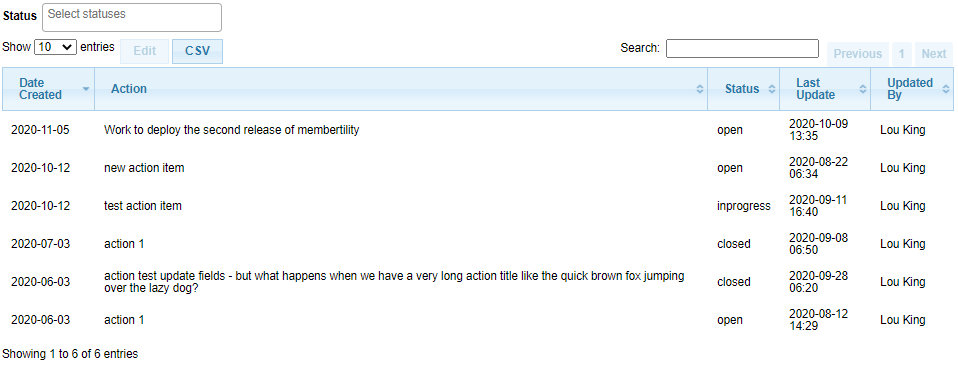
As you can see, the table shows when the action item was first created, what the action is, the current status (open, inprogress, closed), when it was last updated and who made the last update.
You can see more details and make updates by opening the Edit form.
select an action item
click Edit
This opens the Edit form for the action item:
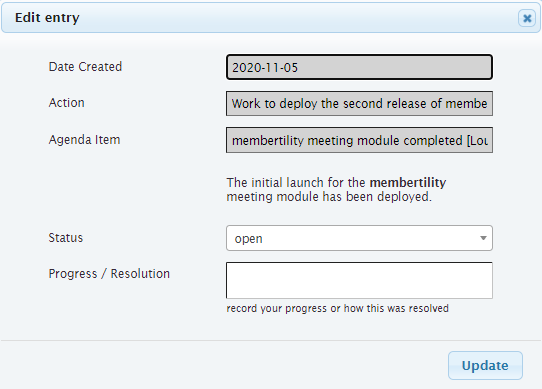
Here you can see the agenda item under which the action item was created, which might give you additional context of what is needed. You can also change the Status and make updates to the Progress / Resolution field.
update the Status to inprogress or closed if appropriate
add information about your progress, or how this was resolved to the top of Progress / Resolution
click Update
Note
If Progress / Resolution has been updated multiple times, it makes sense to add the date of each update, with the latest update being at the top.
Action Items view
This view can be used to see all of the Action Items in the system. (Normally action items are written more clearly than what you see here, but of course these are what was being used for system testing.)
- Action:
text of the action item describing the action to be done
- Assignee:
who is responsible for taking care of the action item
- Status:
current action item status: open, inprogress, closed
- Comments:
updates on progress or how the action item was completed
Hint
click on ![]() to expand (see more fields),
to expand (see more fields), ![]() to collapse
to collapse
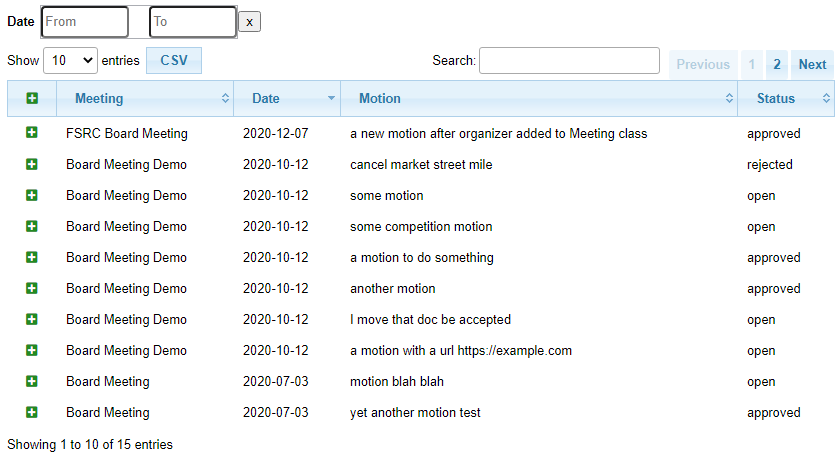
Motions view
Navigation: Meetings > Motions
The Motions view can be used to view Motions which have been made, and their result. Approved motions are formal decisions which have been made. (Normally motions are written more clearly than what you see here, but of course these are what was being used for system testing.)
- Motion:
text of the motion
- Mover:
the person who made the motion
- Seconder:
the person who seconded the motion
- Status:
the result of the motion vote, one of open, tabled, approved, rejected. The Status should not be left open after the meeting
- Vote:
vote talley for each voting member, one of approved, rejected, abstained, novote.
Hint
click on ![]() to expand (see more fields),
to expand (see more fields), ![]() to collapse
to collapse